When I have a clean, distraction free space, I am usually more focused and productive. My couch setup with Netflix being only a remote click away didn't seem to be cutting it anymore.
This is where I found the inspiration for my studio desk. Something I knew would be a challenging project for my skill level that would produce a useful work surface for years to come.
The tools required include:
- Table saw
- Dowel/Biscuit Jointer (which I didn't actually use, but definitely would have made things much easier)
- Hand plane and sander
- Drill press/Hand drill
- Mig welder
- Hand Grinder
First came the highly intricate design...
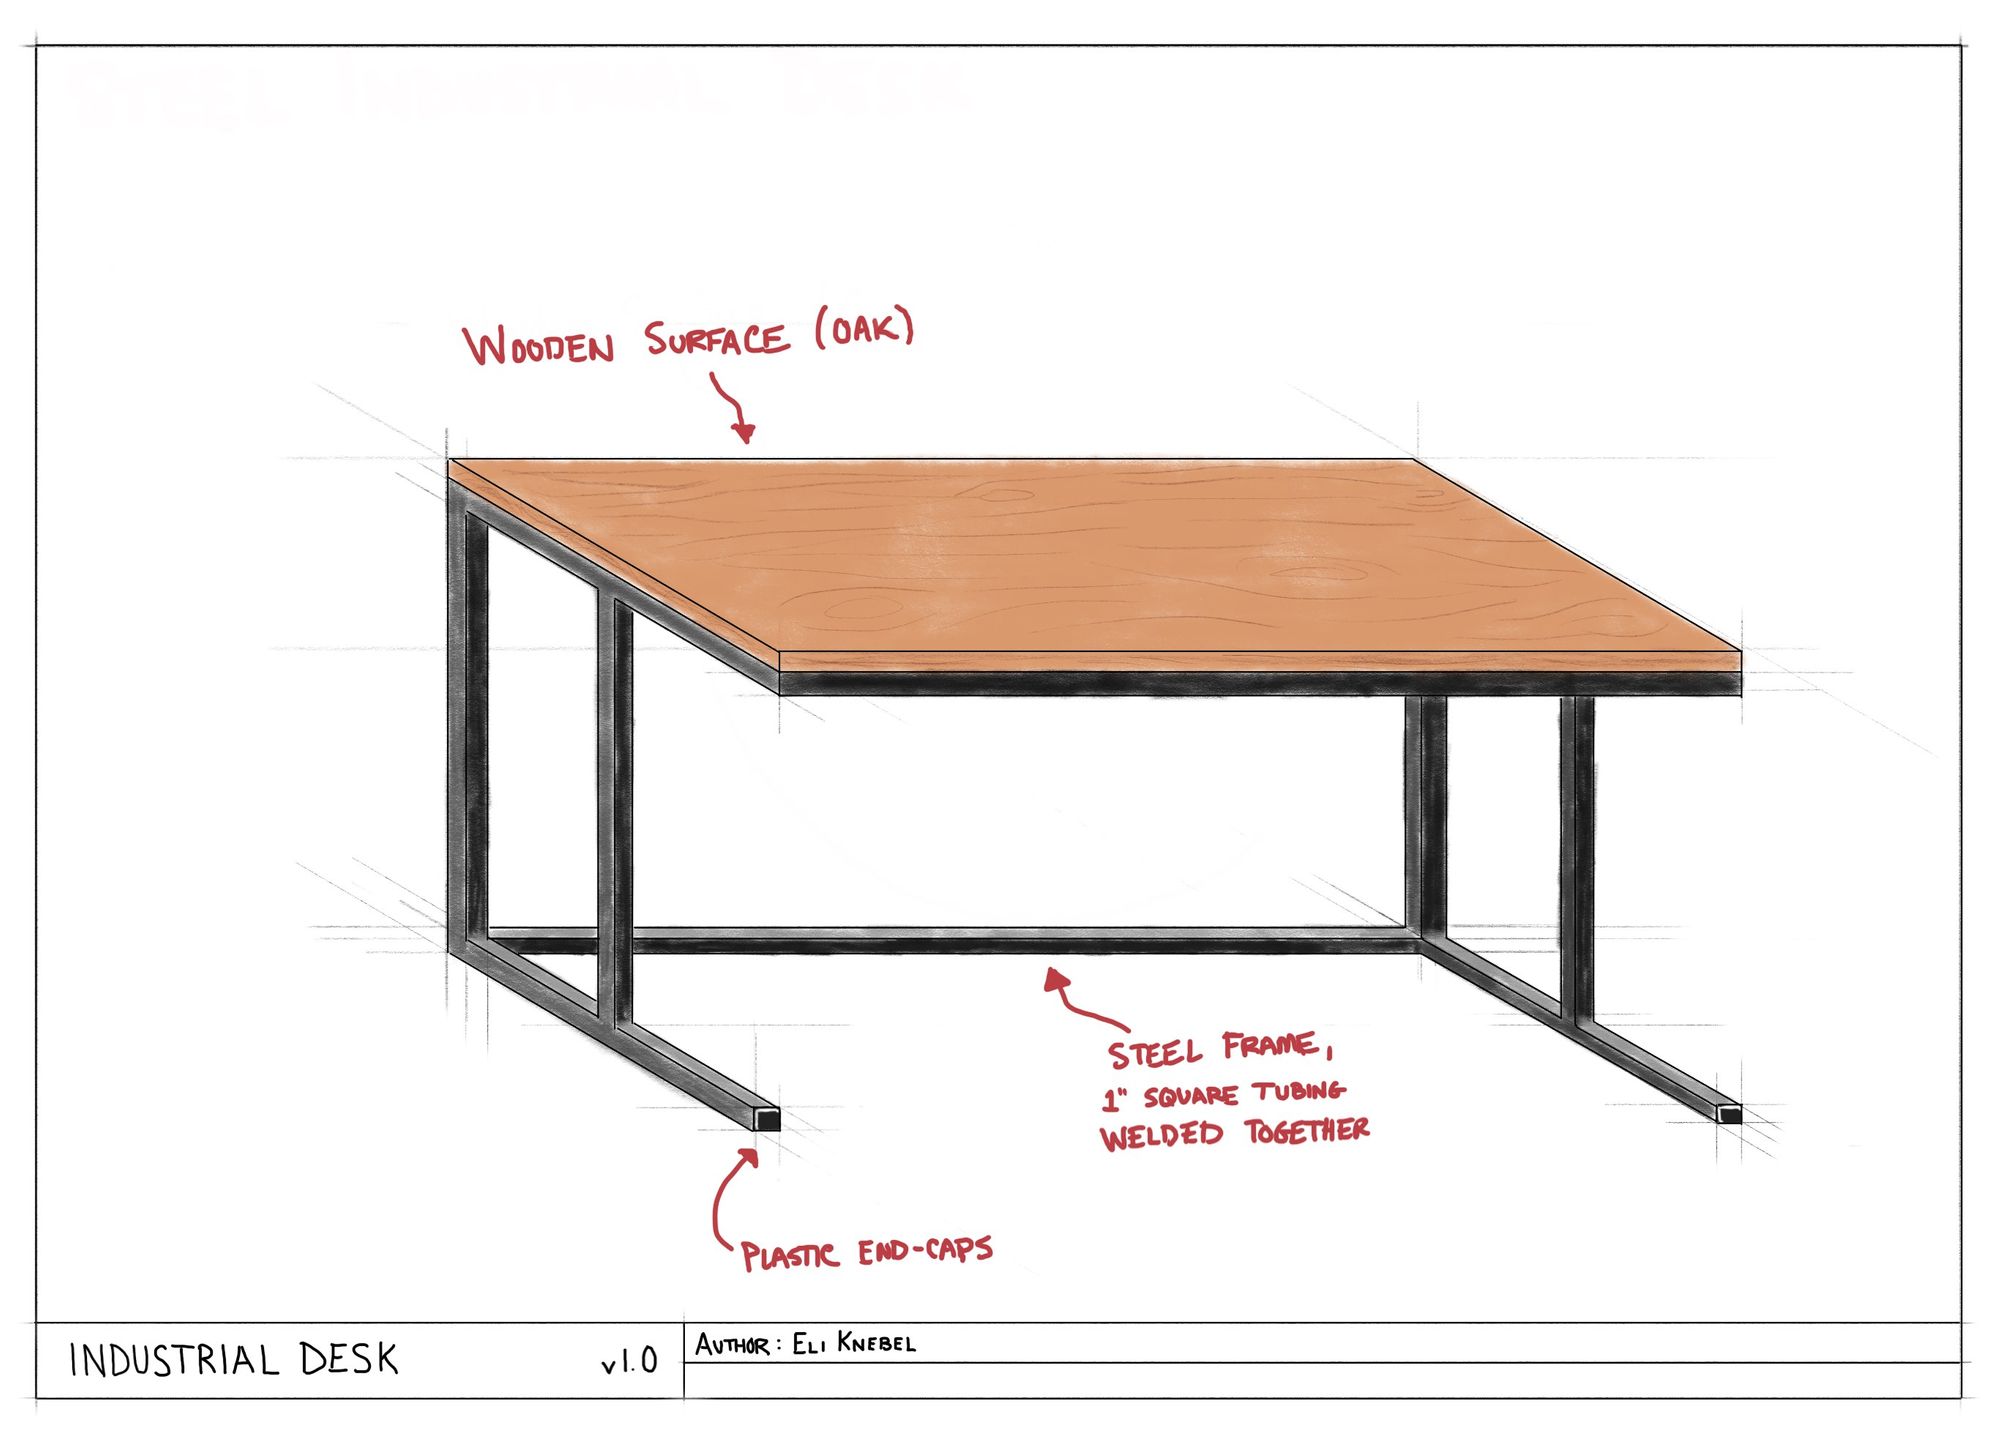
Alright, alright. So maybe it was more of a rough sketch. But I was more excited to create some sawdust than a detailed blueprint. Luckily all the angles are 90° on this thing.
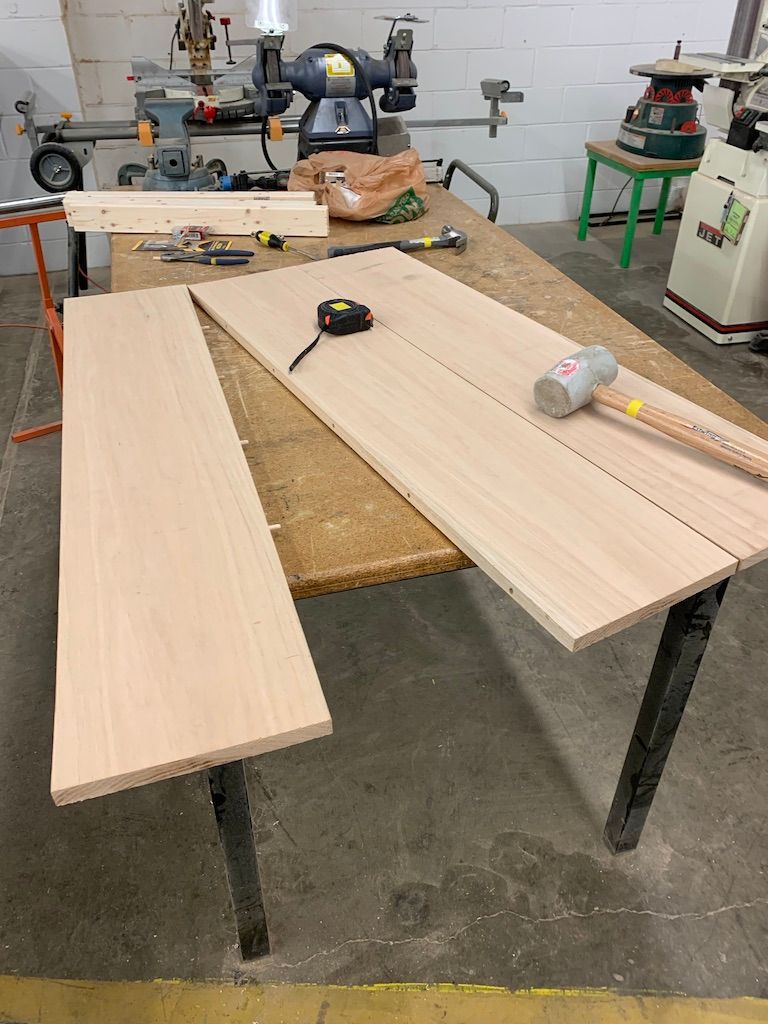
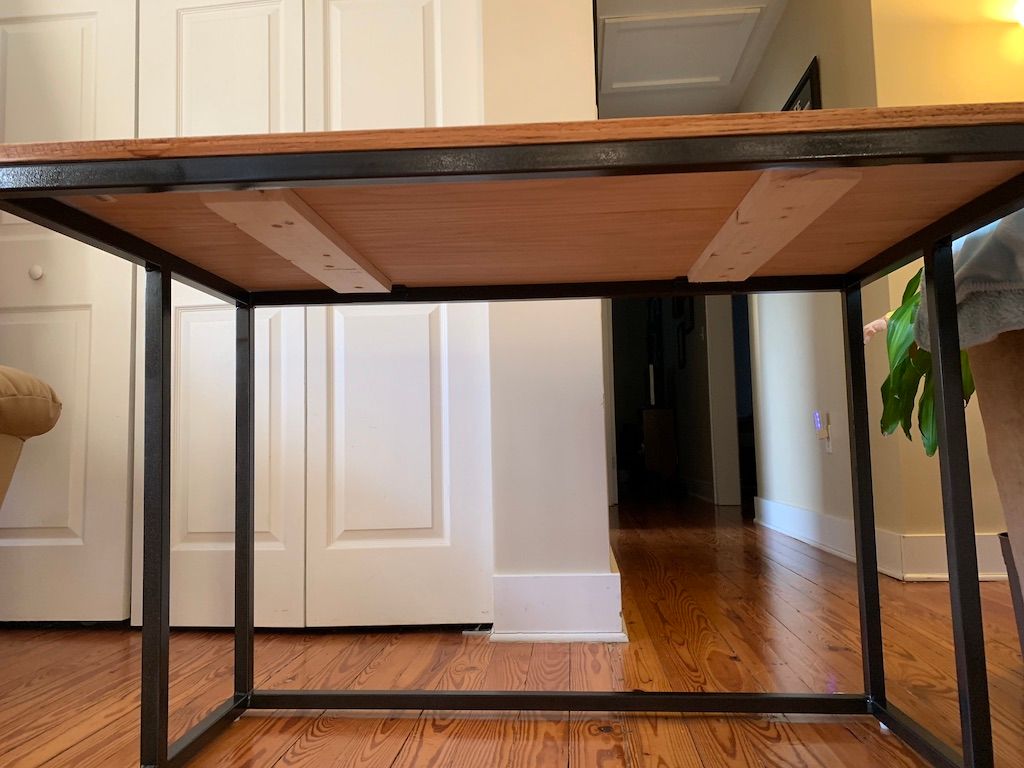
Next, you'll see I mastered some fine dowel joinery. Yes, biscuits probably would have been better. The dowels are really only for ensuring proper alignment.
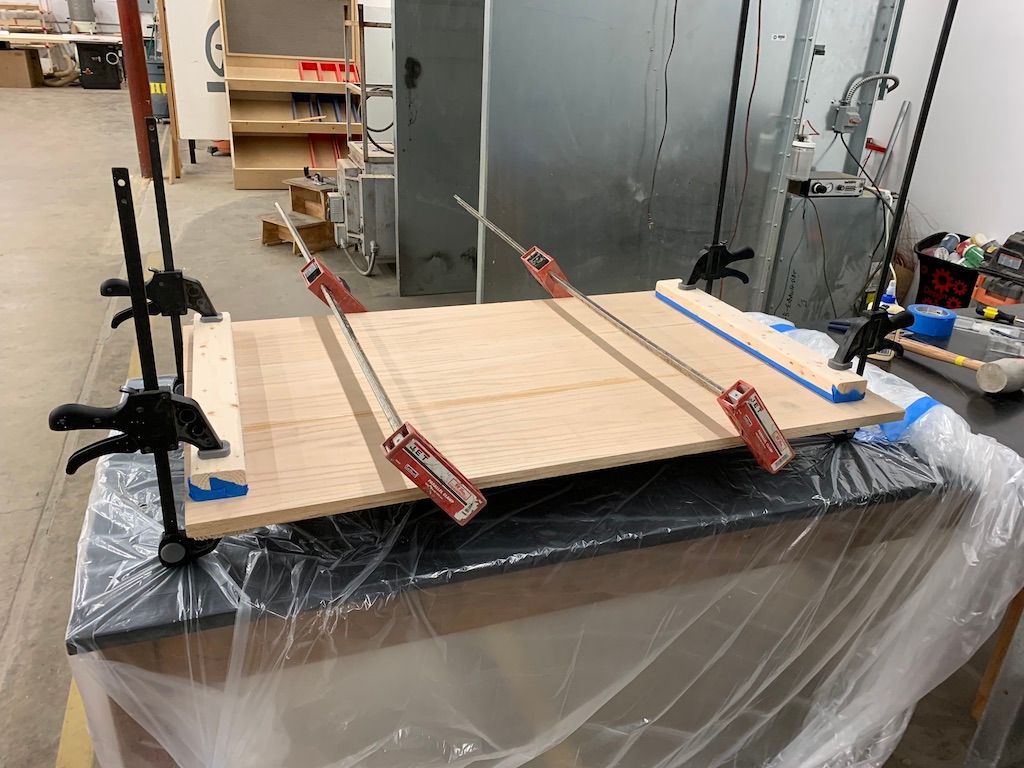
And for the glue-up: more clamps probably would have been better, but these seemed to do the job just fine. The result did "cup" a bit more than I would have liked, but fortunately it isn't too noticeable.
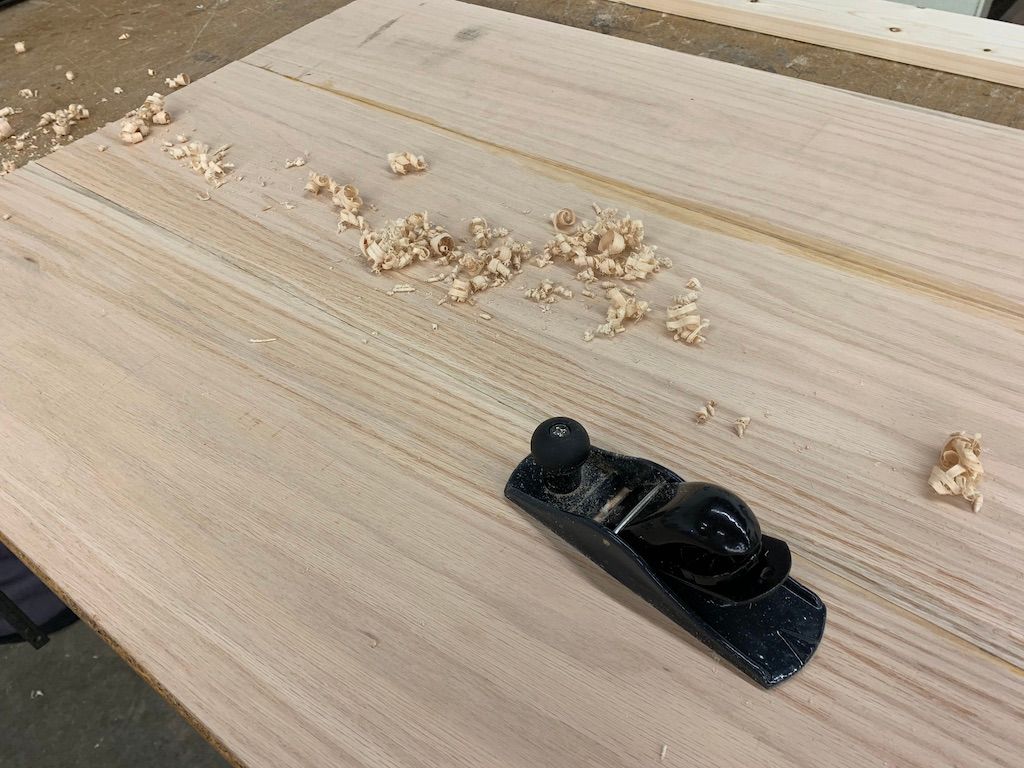
Without a surface planer at my disposal, I resorted to a good old-fashioned hand plane. I used a block plane but a larger plane would have made this job a bit easier.
After some 180 then 220 grit sanding, it was ready for the finish. Here I used a wipe-on stain+poly mix with a cheap foam applicator. Next time I will opt for separate stain then polyurethane and do it in a paint tent to prevent sawdust and other particles from the shop from making their way in.
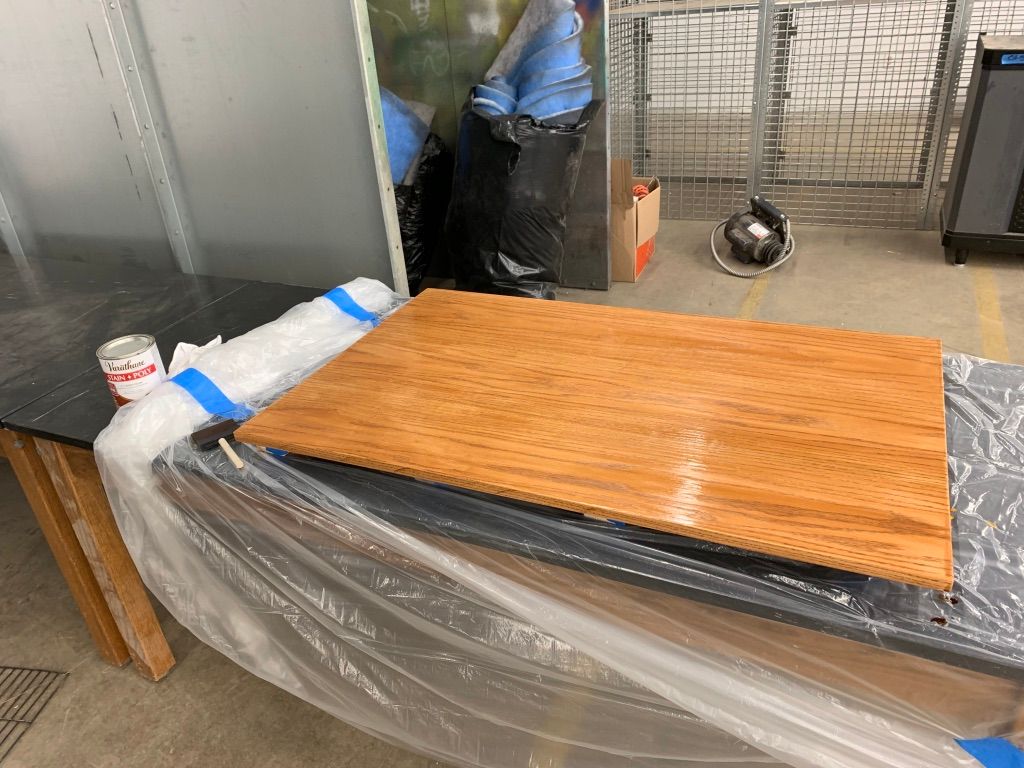
I wanted to keep some of the wood grain texture, so I stuck with only 2 coats. Next time I will sand between coats using 400 grit and finish the underside as well to prevent any warping over time from temperature and moisture changes in the environment.
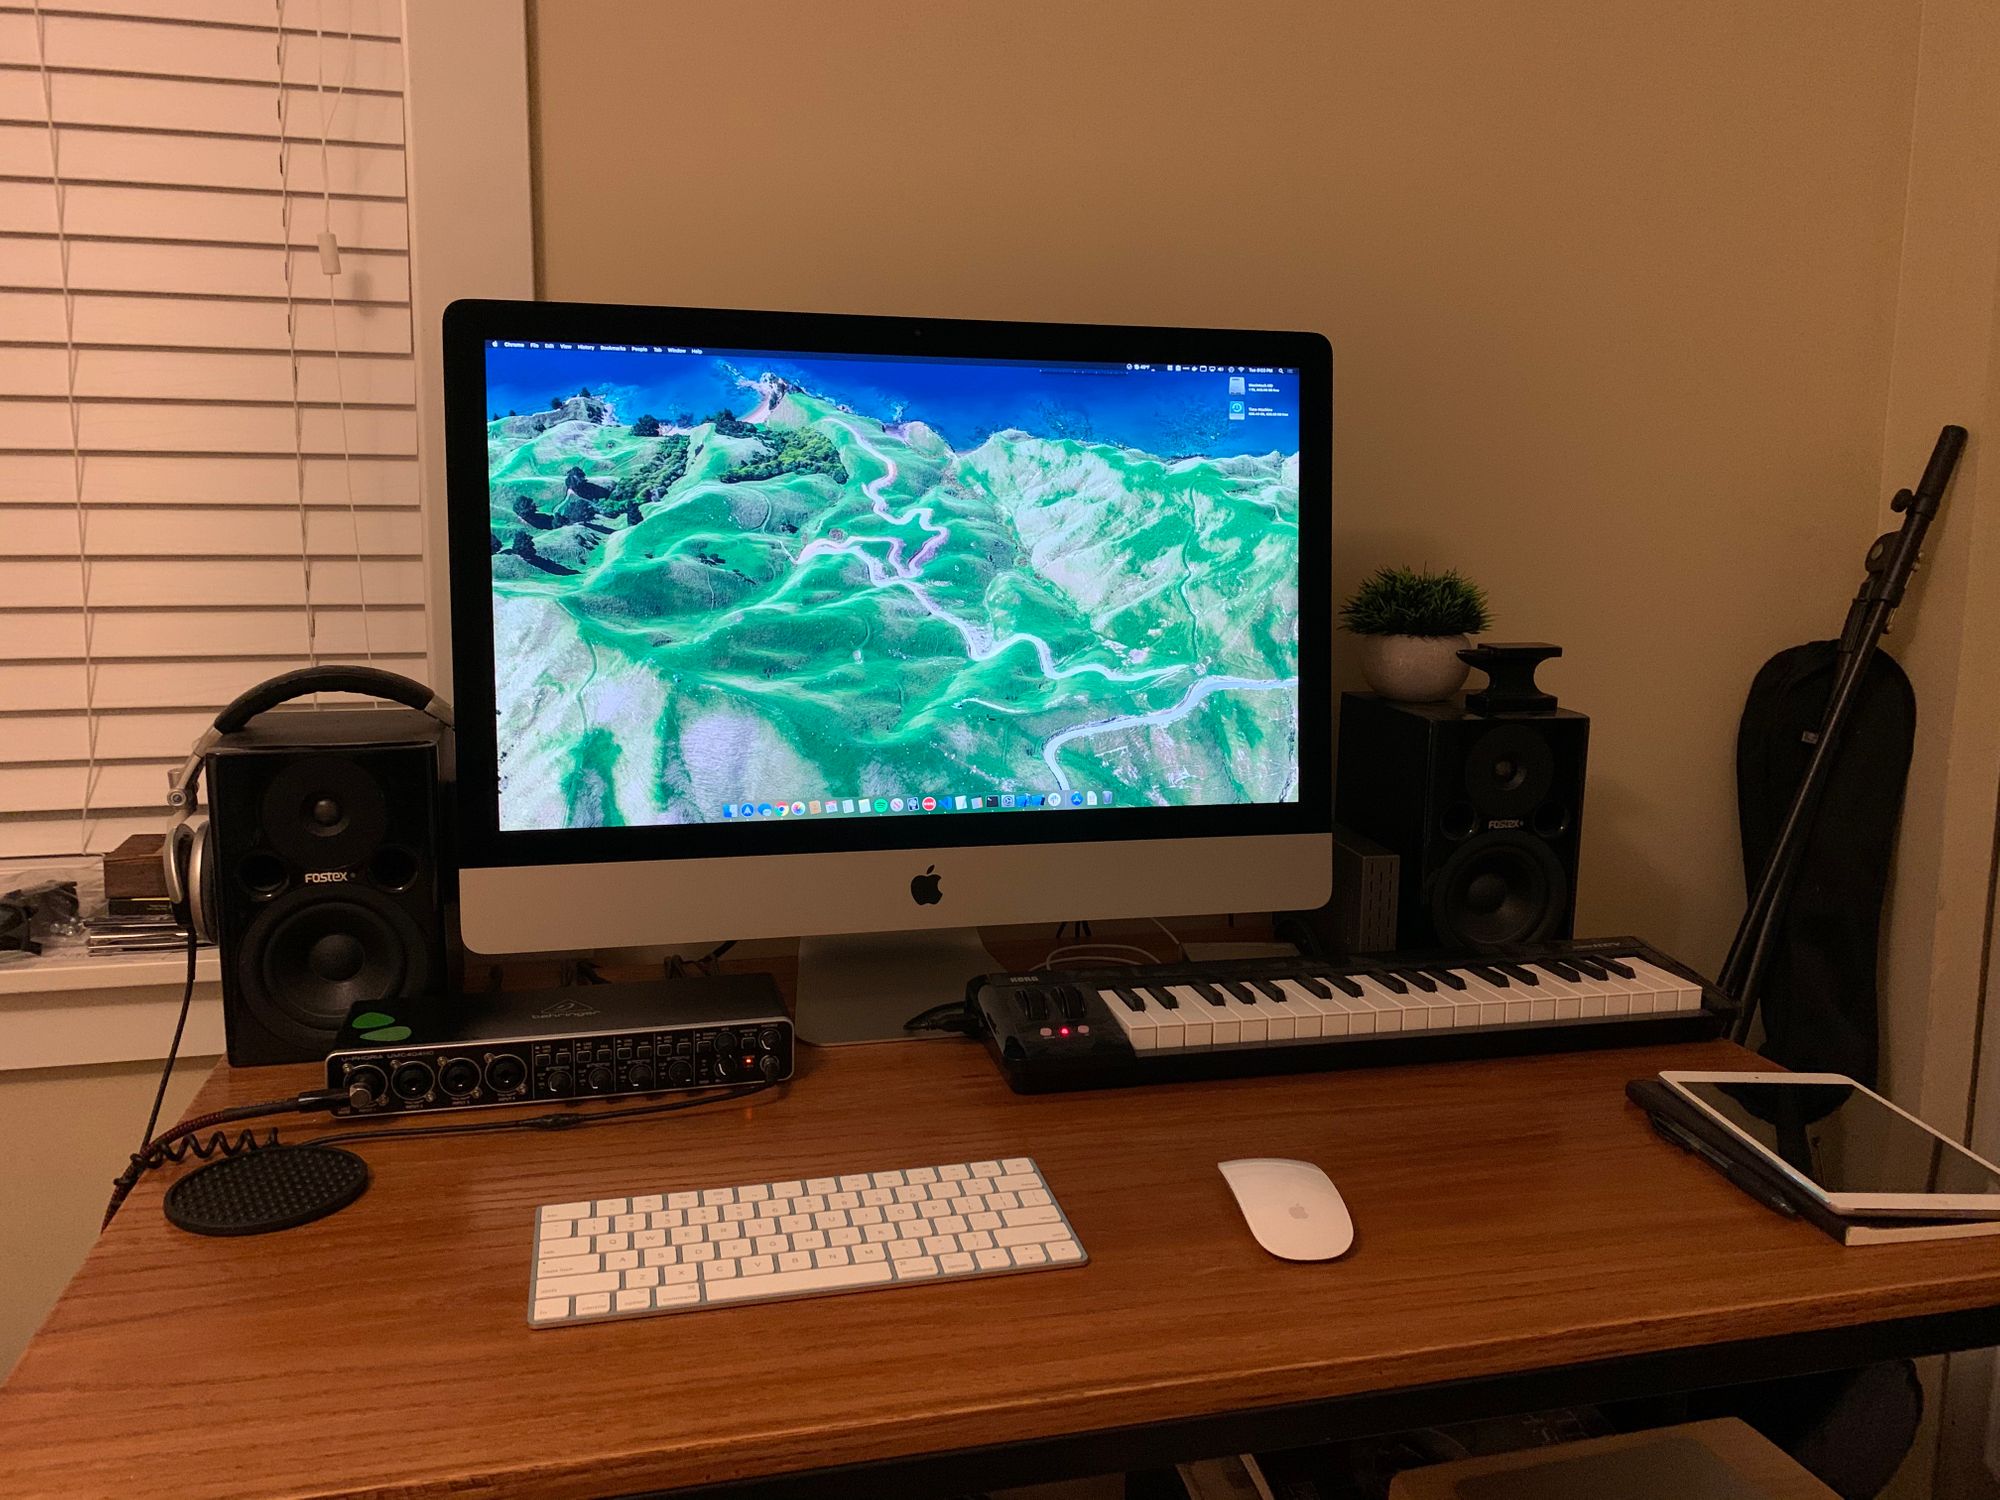
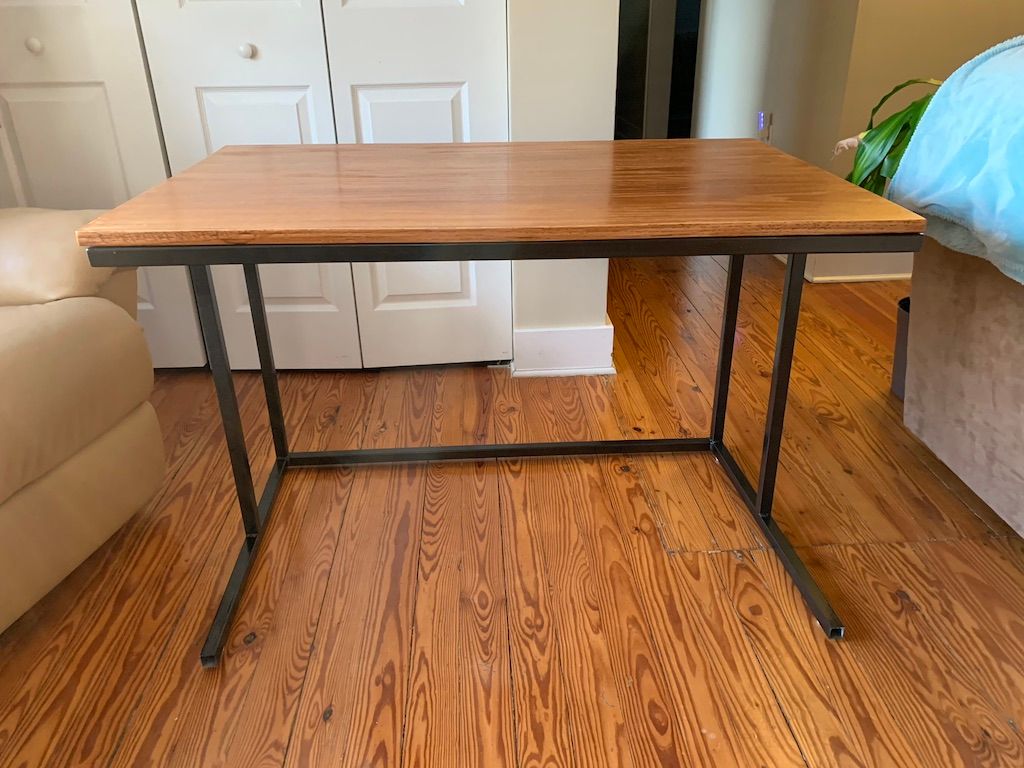
Voilà! The finished desk.
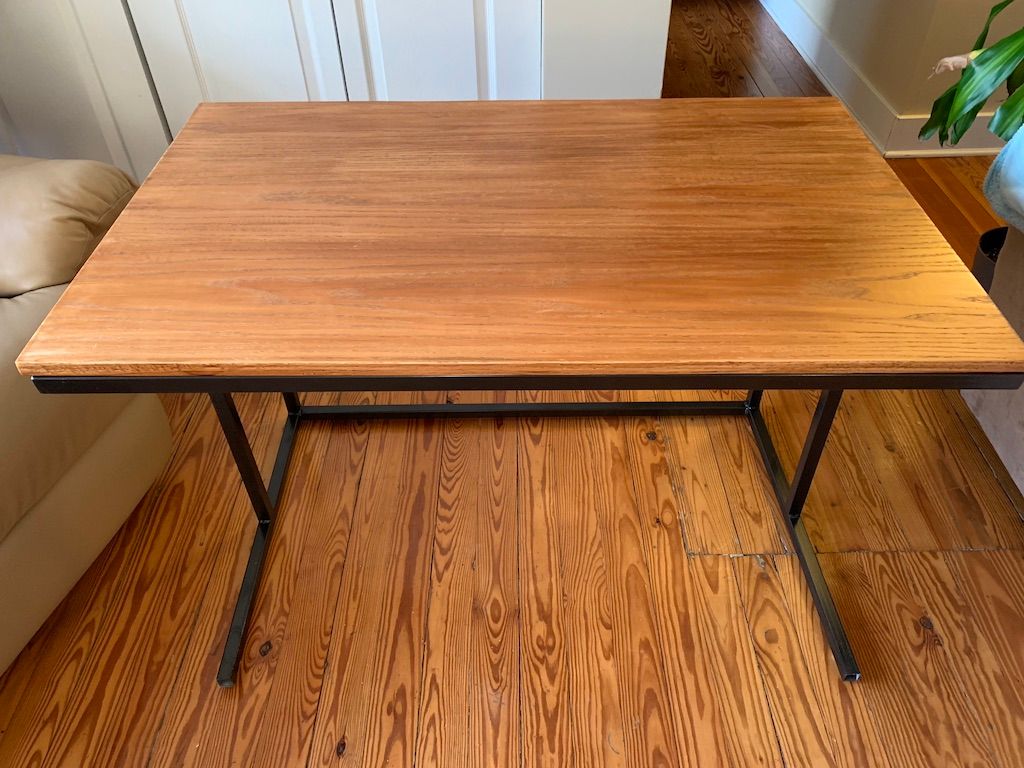
Overall, this turned out to be pretty fun to build and I encourage anyone who is a beginner interested in basic woodworking and metal fabrication to give it a shot.